Retro Planning
The Retro Planning feature allows you to plan and track tasks related to a tender. Each task can be assigned to a person, given a deadline, and may require a document to be submitted upon completion.
Accessing Retro Planning from a Tender
From a Tender record, click the Rétro Plannings tab in the tender navigation bar.
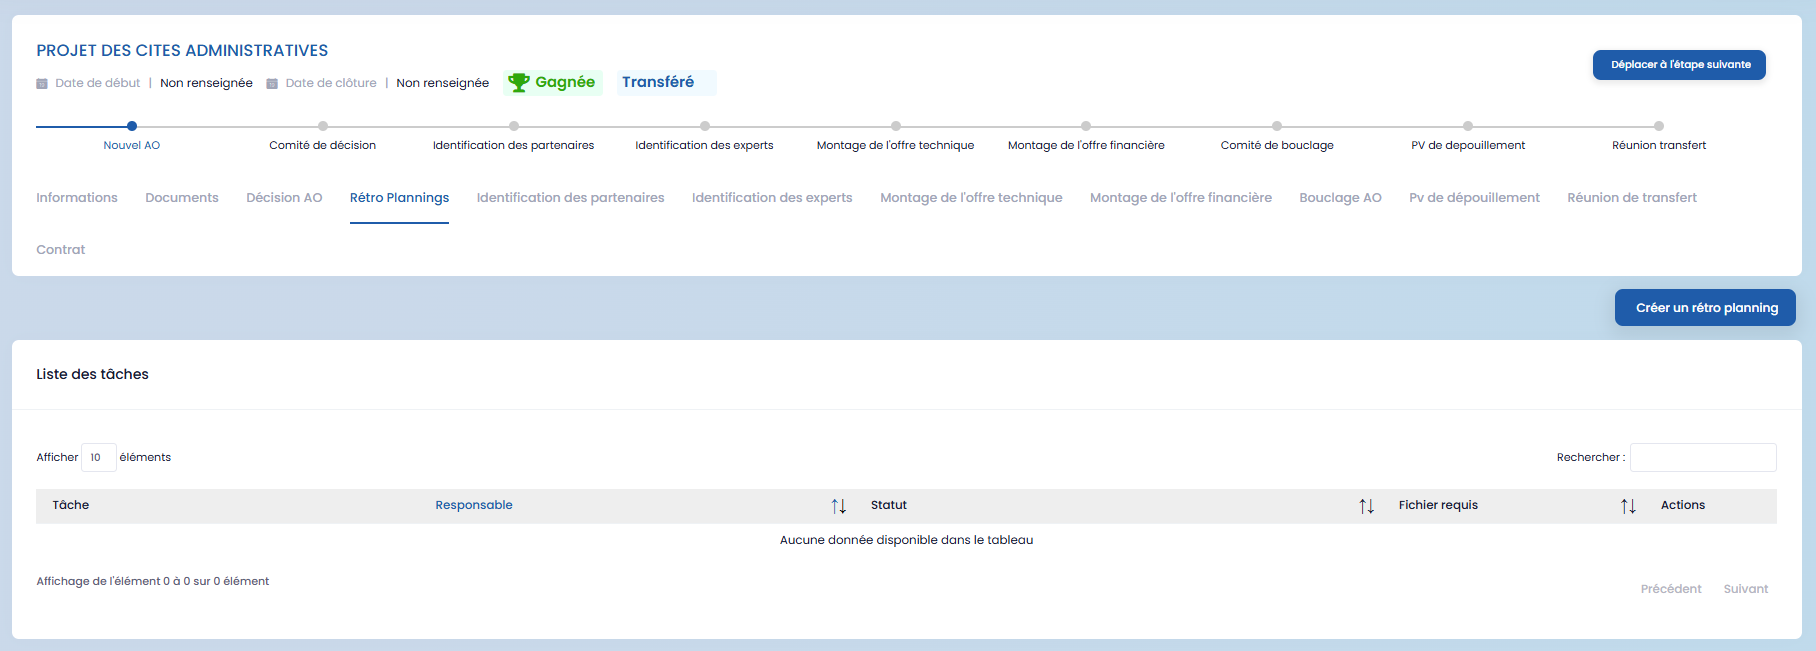
You will see the list of tasks associated with this tender, along with the Create a retro planning button to add a new one.
Creating a Retro Planning
Click the Create a retro planning button in the top right to open the creation form.

Fill in the following fields:
| Field | Description | Required |
|---|---|---|
| Retro planning title | Overall name for the planning | ✅ |
| Task name | Title of the task to be completed | ✅ |
| Deadline | Due date for the task | ✅ |
| Responsible | Person assigned to the task | ✅ |
| This task requires a file | Check if a document must be attached upon validation | — |
Once the fields are filled in, click Add to retro planning to save the task to the summary table, then click Save to save the full planning.
You can add multiple tasks before clicking Save. Each added task appears in the Retro planning tasks table at the bottom of the form.
Retro Planning View — My Tasks
From your personal dashboard, the Retroplanning page displays all tasks assigned to you, grouped by project.
Table columns
| Column | Description |
|---|---|
| Task | Name of the task to complete |
| Status | Task state: Validated (green badge) or pending (red badge) |
| File required | Indicates if a document must be attached: Yes (green) / No (red) |
| Actions | ✓ button to validate the task (only shown if not yet validated) |
Click the ↻ icon at the top left of the table to manually reload tasks. The list also loads automatically as you scroll down.
Validating a Task
To validate a task, click the ✓ icon in the Actions column.
The behaviour varies depending on whether the task requires a file.
Task without a required file
A confirmation window appears. Click Yes to confirm.
The task status immediately changes to Validated and the action button disappears.
Task with a required file
A validation form opens, prompting you to attach a document:
Step 1 — Attach the file
Select the required document from your computer. This field is mandatory.
Step 2 — Choose storage location (optional)
Click the Select button to choose the destination folder in your storage space. If no location is selected, the file is saved to the default location.
Step 3 — Save
Click Save to validate the task. A confirmation message appears and the task status changes to Validated.
If you close the window without clicking Save, the task will not be validated and the file will not be saved.